Free sleep-screen maker
Make an Xteink X4 or X3 wallpaper
Crop a photo, dither it for the 4-grey panel, download a BMP for the Xteink X4 or X3. Nothing leaves this browser.
- Free, no account
- Runs in your browser
- Nothing uploads
- X4 · X3 sizes
How it works
- Choose an image Drop a photo or pick a ready-made wallpaper.
- Crop & adjust Set the fit, then tune it for the e-ink panel.
- Download & apply Save the BMP and follow the install steps.
File saved
The X3 is in stock, 10% off
Use XTEINK10% at xteink.com checkout. The X4 Pro ($99, front light) restocks in waves.
Official Xteink
The X3 is the one you can buy today
XTEINK10% takes 10% off the X3. X4 Pro restocks in waves.
-
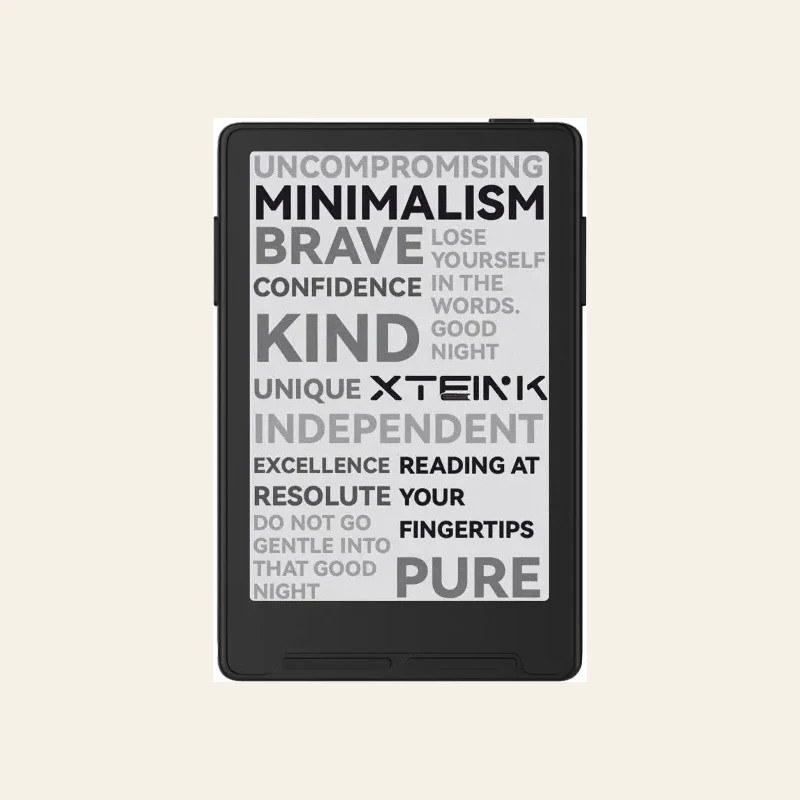 Buy the X3
Xteink X3
In stock$79$69 -
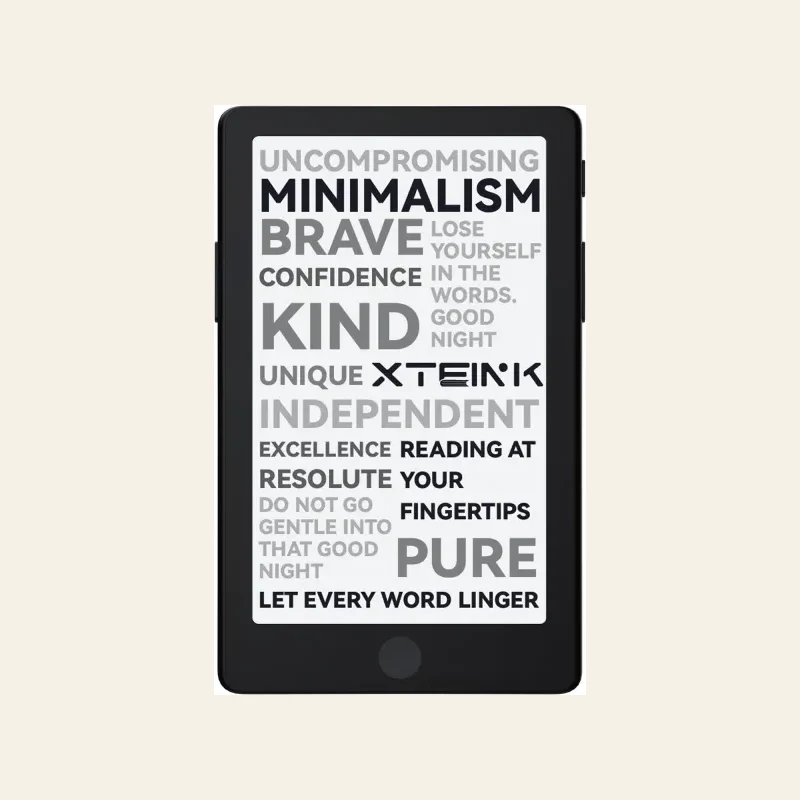 Check X4 Pro stock
Xteink X4 Pro
Front light$109$99 -
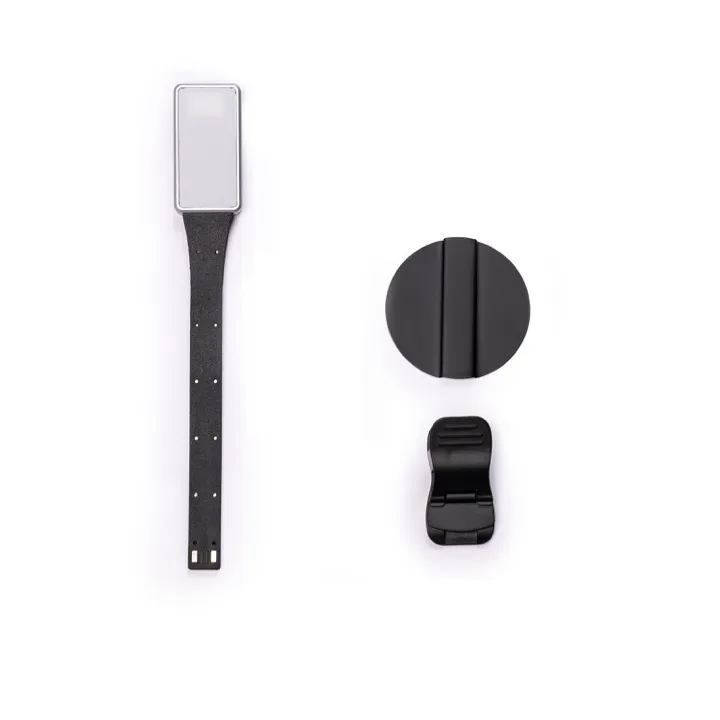 Buyfrom $9.99
eReader Magnetic Reading Light
Official -
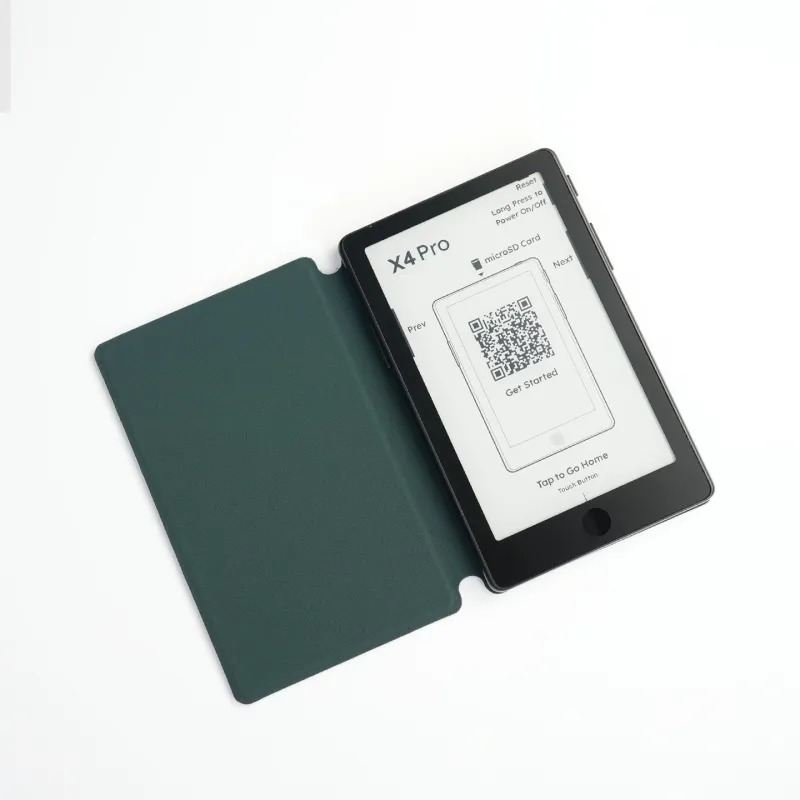 Buy$8.99
X4 Pro Magnetic Case
Official
Compare the lineup on the device hub or the X4 vs X4 Pro vs S4 guide. Kit everything on accessories.
Install it on your Xteink
Pick the software your Xteink is running and follow those steps. Not sure? Most units ship on stock.
The software your Xteink shipped with, before flashing anything.
- Format
- BMP or JPG
- Size
- 480×800
- Set from
- on-device picker
-
Make & download your image
Make your image in the tool above and download it. The recommended stock format is a 480×800 BMP, exactly what you get here. (JPG is also accepted, but the dithered BMP looks cleanest.)
-
Copy it anywhere on the SD card
Put the file in any folder, or the card root. Stock has no special wallpaper folder. (Dropping a
sleep.bmpat the root does nothing here; that’s the CrossPoint method, not stock.) -
Open Folder, preview, and set
On the device, use the Open Folder menu to reach the folder with your image. Select the image. It opens a preview. Click the preview, choose “Set as Power-off Screen,” then tap Select to confirm. That sets it.
- Open Folder
- Select your image
- Click the preview
- Choose “Set as Power-off Screen”
- Select
The community firmware most owners flash, plus its forks CrumBLE and microreader, which install the same way.
- Format
- 24-bit BMP
- Size
- 480×800
- Folder
- .sleep/
-
Download the BMP
Make your image above and download the BMP. It’s uncompressed 24-bit at the exact panel size, the one encoding CrossPoint accepts.
-
Copy it into a “.sleep” folder
On the SD card, make a folder named
.sleep(or plainsleep) and drop the BMP inside. Several images cycle at random; a single image namedsleep.bmpat the card root also works. -
Set Sleep Screen to Custom
On the device: Settings → Display → Sleep Screen → Custom. You can also assign any image live from the BMP viewer in Browse Files.
The most-adopted CrossPoint fork. Installs images exactly like CrossPoint, and can also show your reading stats as the sleep screen instead of a picture.
- Format
- 24-bit BMP
- Size
- 480×800
- Folder
- .sleep/
-
Download the BMP
Make your image above and download the BMP, the same uncompressed 24-bit file CrossPoint uses.
-
Copy it into a “.sleep” folder
On the SD card, put the BMP in a
.sleep(orsleep) folder. Multiple images cycle; a singlesleep.bmpat the card root works too. -
Set Sleep Screen to Custom
On the device: Settings → Display → Sleep Screen → Custom and pick your image.
A CrossPoint fork with its own Wi-Fi upload flow and a native .pxc format.
- Format
- BMP (or .pxc)
- Size
- 480×800
- Upload
- over Wi-Fi
-
Download the BMP
Make your image above and download the BMP. (For the smallest files you can later convert to DX34’s
.pxcformat with the CrossPoint PXC converter.) -
Open the device’s file server
DX34 doesn’t mount as a USB drive. On the same Wi-Fi, open a browser and go to your device’s IP address with
/fileson the end (the IP is shown on the device). -
Upload to /sleep
Upload the BMP into the
/sleep/folder for a rotating set, or drop a singlesleep.bmpat the root.
A fork that renders images directly, the one firmware where no BMP conversion is required.
- Format
- PNG / JPG / BMP
- Size
- 480×800
- Extras
- clock faces
-
Download your image
inx reads PNG and JPG directly, so the Custom preset (PNG) works too, but the dithered BMP still gives the cleanest 4-level result.
-
Copy it to the sleep folder
Drop the image into the sleep-screen folder on the SD card.
-
Pick it in settings
Choose your image sleep screen, or one of inx’s built-in clock faces, in the firmware’s settings.
Flashing custom firmware first? See the firmware directory. New to the Xteink? Start with the firmware help & FAQ.
Xteink wallpaper FAQ
Sizes, formats, and folder names for an X4 or X3 sleep screen. Got a Kindle, Kobo or Boox? Use the e-reader screensaver maker instead.
What size should an Xteink X4 wallpaper be?
Does this work with the stock (factory) OS on the Xteink X4?
What file format does the Xteink sleep screen use?
Can I use this for a Kindle, Kobo, Boox or other e-reader?
Why do my wallpapers look grainy or banded on the e-ink screen?
Why does my wallpaper look washed-out on the device?
What kind of image makes the best e-ink wallpaper?
Why is my custom sleep screen not showing up?
.bmp, a compressed or paletted BMP, or the wrong size. CrossPoint then silently falls back to its Dark screen, with no error. Export from this tool, then re-check the folder and that the screen is set to Custom. How do I preview the new sleep screen?
Can I set more than one wallpaper, or have them rotate?
.sleep folder and it cycles through them at random each sleep. Make each one here and copy them all in. On stock firmware you set one image at a time.